
Hey, fellow dog lovers! As an avid crafter and proud dog parent, I’m excited to share my knowledge on making custom paracord dog collars. Whether you’re new to DIY or a seasoned pro, this comprehensive guide will teach you everything you need to know to craft the Perfect Paracord Dog Collar for your furry best friend.
Why Make a Paracord Dog Collar?
There are many benefits to choosing paracord over traditional leather or nylon collars.
Strength and Durability
Type 550 paracord is extremely tough, with a minimum breaking strength of 550 pounds. This makes it ideal for active dogs that may snag their collar on things. The wrapped construction also disperses pressure evenly along the neck.
Variety of Colors
Paracord comes in a huge assortment of bold colors and patterns. You can find neon shades, camouflage, sparkly, and multi-colored options. This allows you to match your dog’s personality or coordinate with their leash and accessories.
Water Resistance
Paracord is hydrophobic thanks to its inner core wax. This prevents water from penetrating the weave and causing rust, mildew, or rotting over time. Collars stay clean and dry no matter the weather.
Easy to Clean
Simply spot clean paracord by hand or gently machine wash. The tightly bound construction holds up well without loosening delicate stitches or wearing out like leather or fabric.
Personalized Touch
By making your own, you can add unique customizations that perfectly suit your pup. Whether adding their name, favorite toys or treats, or bright safety features, homemade means personalized!
In the end, paracord collars offer an affordable, durable, and customizable DIY project perfect for any dog. Let’s get started!
Gather Your Materials For Paracord Dog Collar
To begin your project, gather the following supplies:
- 550 Paracord – At least 6-8 feet depending on your dog’s size. Stick to top brands like Paracord Planet for maximum strength.
- Buckle – Choose plastic or metal depending on style preference. Make sure it’s the appropriate size for your paracord thickness.
- D-Ring – Typically 1⁄4″-1⁄2″ in diameter depending on dog size. Steel is the most durable.
- Lighter or torch – To neatly seal the cut paracord ends.
- Scissors – Sharp and dedicated to cutting the cord if possible.
- Measuring tape – To ensure an accurate fit.
- Optional: Beads, charms, or accent cord for customization.
The amount of paracord needed varies based on your dog’s neck circumference. Here’s a handy reference table:
| Neck Size | Approx. Cord Needed |
|---|---|
| 10-14 inches | 6-8 feet |
| 14-18 inches | 8-10 feet |
| 18-22 inches | 10-12 feet |
| 22+ inches | 12+ feet |
Having the right tools makes the job easier. Measure your pup to find their size before beginning.
Step 1) Measure Your Dog’s Neck
For the perfect custom fit, start by measuring around your dog’s neck where the collar will sit.
- Use a soft measuring tape placed just behind their ears and below their jawline.
- Subtract 1⁄2-3⁄4 inch from the total. Account for the thickness of the paracord weave.
- Write this down for reference when selecting your buckle size.
- Consider future growth if your pup is still young. Add an extra inch or two of length for growing room.
Taking time for accurate measurements up front means your dog will be comfortable for a long time to come.
Step 2) Choose a Weave Pattern
Paracord lends itself well to classic multistrand weaves that hold up to constant use and pressure. Consider these top options:
Cobra Stitch
The cobra stitch creates a flat yet flexible weave perfect for collars. It interlocks tightly for strength without bulk. Great for beginners too!
Solomon Bar/King Cobra
A variation adding an extra strand inward for extra width and padding. Good for large breeds or dogs that pull.
Trilobite
This flat geometric pattern lays smooth against fur without bulking. Easy on the eyes and great for custom designs too.
Choose based on your skill level, dog size/coat type, and intended use. Experiment to see which lay and feel you prefer making.
Step 3) Attach the Buckle
First, feed one paracord end through the buckle, leaving a 6-8″ tail for sealing.
For round buckles, fold the cord in half and insert both ends through opposite sides.
For flat buckles, insert one end through the attached D-ring and back through the buckle.
Pull the cord ends to create a small loop inside. This loop will be cinched tight against the buckle later.
Step 4) Begin Your Weave
With your buckle attached and paracord ends pulled taut, you’re ready to start your weave!
For the cobra stitch:
- Insert your working end behind the standing portion from front to back.
- Bring it forward and overtop then back behind again.
- Keep alternating sides in an overlapping zig-zag pattern moving forward.
- Cinch the weave tight as you go for uniform spacing.
Refer to online tutorials if needed for specific pattern instructions. Go slow, pull evenly, and double-check your work as you progress.
Step 5) Add the D-Ring
Once you’ve woven about 1-2 inches, pause to add the D-ring.
Feed the D-ring through the crossed cords at the front of your weave.
Continue the pattern a few more rows to secure it tightly in place.
Trim any excess sticking out later once fully woven.
The D-ring placement makes attaching leashes and tags easy for your dog.
Step 6) Finish Strong
As you near the end, leave a 6-8″ tail to match the beginning.
You can weave backward to the starting point and then trim off excess.
Feed the tail through the initial buckle loop and pull tight.
Use a lighter to neatly melt the cut ends, sealing the cord.
Move the flame quickly – don’t charge the ends or hold in one spot.
Your homemade dog collar is now complete! Let it cool fully before use.
Step 7) Customization Made Easy
Now for the fun part – adding personalized flair! Consider these cute customization ideas:
- Weave in beads, charms, or accessories in coordinating colors.
- Handwrite their name, your info, or “If lost please call.”
- Incorporate reflective cord sections for night visibility.
- Braid, knot or add accents like ribbon or fuzzy pompoms.
- Craft removable tags from paracord, leather, or polymer clay.
The options are endless. Let your creativity shine through for a truly one-of-a-kind collar!
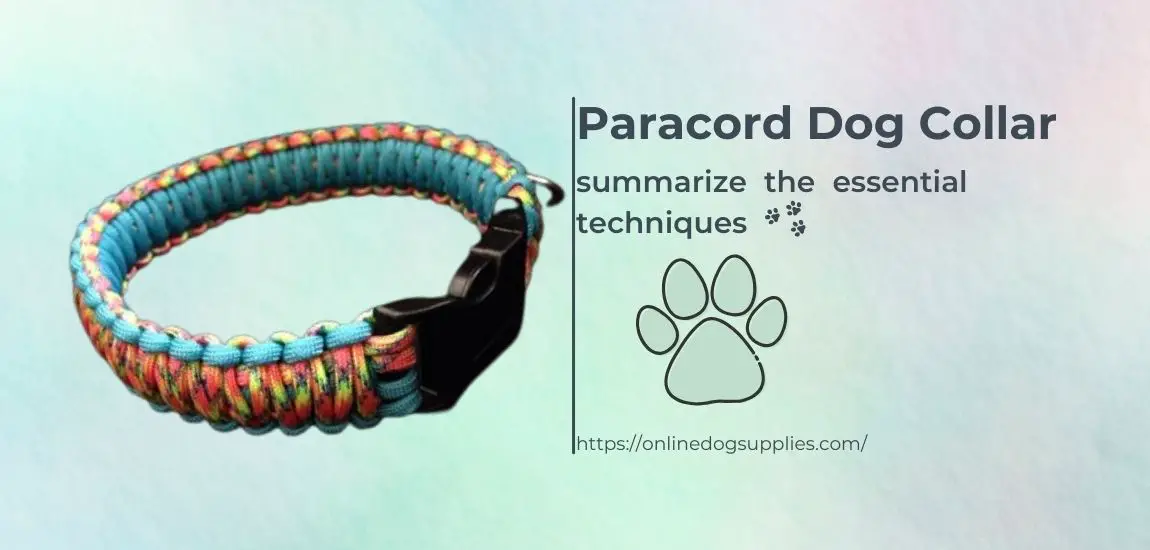
Key Takeaways About Paracord Dog Collar
To summarize the essential techniques:
- Accurately measure your dog’s neck size to ensure comfort and safety.
- Select high-quality 550 paracords rated at a minimum 550lb strength.
- Practice common weaves like cobra stitch that hold up to wear and tear.
- Take your time weaving for maximum durability and a professional look.
- Personalized touches show your pup how much you care.
By following these guidelines, you’ll find satisfaction in crafting the perfect collar made just for your furry friend. Enjoy the process and your dog’s appreciation!
FAQ About Paracord Dog Collar
How much paracord do I need?
As a general guide, allow 1 foot of cord per 1 inch of finished collar length. Refer to the sizing chart for estimated quantities.
Can I wash the collar?
Yes, paracord is very durable and washable. For longevity, spot clean or hand wash gently in cool water with a mild soap. Air dry completely.
What knot should I use to start/end?
The overhand knot works well and is easy to untie later if needed. For extra security, melt the cut ends together using a flame.
Will 550 paracord hold up to large strong dogs?
As long as you use a reputable brand and weave tightly, 550 paracord collars can definitely stand up to even the strongest dogs. Consider padding for extra comfort.
Is making my own cheaper than buying ready-made?
In many cases yes, since paracord itself is relatively inexpensive to purchase. The time invested is where you save versus retail prices of $15-30usually for similar collars.
I hope you enjoyed this comprehensive guide! Let me know if you have any other questions before starting your first DIY paracord dog collar project. Happy crafting!
