
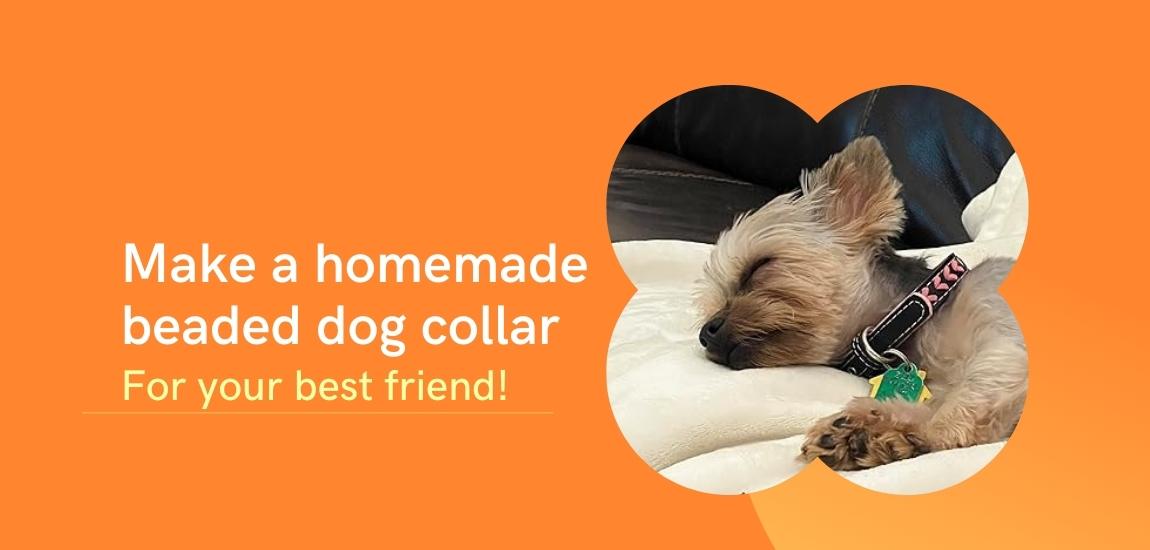
Making a homemade beaded dog collar is a wonderful way to showcase your pet’s unique style and personality while strengthening the bond between you. In this in-depth tutorial, I will share everything you need to know to craft a customized collar that is sure to become your dog’s favorite accessory.
Whether you’re looking to DIY your first beaded collar or learn advanced techniques, this guide covers the entire process from selecting beads to finishing touches. I’ll discuss bead types, necessary tools, sizing tips, step-by-step instructions, creative customization ideas, and more. By the end, you’ll be ready to unleash your inner crafter and how to make a beaded dog collar design a stunning collar your pup will love wearing.
Understanding Bead Collars
Many different bead varieties work well for dog collars. Some popular choices include seed beads, gemstones, pearls, and wooden beads. Seed beads, which come in an array of sizes, are durable and economical. Gemstones like amethyst or turquoise add unique flair while pearls offer an elegant look. Wood beads provide a natural complement to your dog’s beauty.
Beaded collars offer many benefits. The beads allow for breathability so your dog’s neck won’t get too hot or uncomfortable. Their customized designs are a fun way for your pup to showcase their special style. And with endless bead and pattern options, you can create one-of-a-kind collars for each season or outfit. Bead collars last longer than standard nylon or leather varieties thanks to their hand-stitched construction. Their adjustability also makes them a great choice for growing dogs.
When starting your project, accurate sizing is essential to your dog’s comfort. To measure their neck circumference, wrap a tape measure snugly around their neck, directly behind their ears. Add an inch or two to allow for thicker winter fur. Buy bead cords long enough to wrap around their neck space plus a couple of inches extra for the joining clasp or buckle.
Getting Started with DIY Dog Collar
Before diving into your pattern, gather the necessary materials:
- Beads in your chosen styles and colors
- A strong beading thread like nympho or silamide
- Clasp or buckle closure
- Scissors
- Beading needles
- Optional beading loom or cord
Having the right tools will make the beadwork process much smoother. In addition to beading needles, consider investing in a beading loom to keep your beads lined up neatly. Looms come in various widths to accommodate collars of all sizes.
When selecting your collar pattern and style, think about your dog’s personality. Sporty pups may love bold colorblock designs while princesses favor delicate floral motifs. Trendy pooches need on-trend rainbow patterns! Get creative and unleash your dog’s true flair.
Bead Collar Beading Pattern and Tutorial
Now it’s time to put those beads to work! Follow these steps to create a basic linear beaded dog collar:
- Cut two strands of beading thread long enough for your finished collar length plus an extra to tie a secure knot. Thread one strand onto a beading needle.
- Pick up 15-20 beads and hold them near the needle’s eye. Pull the thread all the way through, leaving a 6-8″ tail.
- Pick up 1 bead and pull through 2 beads on the needle. Continue adding beads one by one and pulling through 2 until you reach your desired length.
- When complete, tie a tight overhand knot near the beads. Trim excess thread.
- Repeat steps 2-4 with the second thread to create a matching partner piece.
- Tie the two collar pieces together end to end using a lark’s head knot. Follow with square knots every 1⁄2-1″ to join securely.
- Attach your chosen clasp or buckle closure to finish. Add decorative knots if desired.
For a downloadable PDF of this basic linear collar pattern, click here. You can also browse dozens more advanced patterns on my site!
Adding a Personal Touch
Elevate your collar design with customized details matching your pup’s unique personality:
- Monogram/spell out your dog’s name with accent beads
- Use their favorite colors throughout the pattern
- Hand-stitch in a photo or pawprint bead charm
- Edge the collar with gemstones in their birthstone hue
- Braid leather or ribbon into the beading for texture
- Attach a mini tag with their info instead of a buckle
For active dogs, consider beading a coordinating leash to match. And for pups still growing, add sliding bead or toggle adjustments so the collar elongates as they do. With creativity and care, your DIY collar is sure to become their prized possession.
Advanced Beading Techniques
Once you’ve gotten the basics down, challenge yourself with new patterns. Double-sided collars let you flaunt the beadwork from either angle. 3D designs pop off the cord with textures like herringbone stitch. Beadweaving allows you to work large motifs directly into the band itself using peyote, brick, or square stitch.
Advanced crafters can try their hand at freeform beading without a defined pattern. Or craft a statement piece using unusual materials like healed gemstone cabochons for dramatic flair. Not to mention, nothing says you can’t stitch a beaded necklace or bracelet to coordinate with your dog’s new collar!
No matter your skill level, beading opens a world of possibilities. Keep practicing and don’t be afraid to experiment – that’s how you’ll become an expert collar designer in no time. With patience and the right techniques, even intricate multistrand collars are within reach.
Pre-Made vs. DIY Beaded Dog Collars
While beautifully made pre-cut collars can be found online or in niche shops, nothing compares to the personalized joy of DIY. Crafting your own allows for endless customization at a fraction of the cost. Plus, the process is meditative. As you bead, you bond with your pup through focused quality time.
For ready-made collars, costs vary greatly based on materials, size, and design complexity. Simple collars may cost $15-30 while intricate beaded leather collars run $75-200. Handmade Etsy collars range between $40-120 on average. DIY supplies for medium-sized collars cost around $10-25, so you save big over pre-made in the long run.
Both options have tradeoffs. Pre-made lets you wear a finished collar immediately but DIY means more mess, patience, and practice required to learn new skills. The joy of DIY lies in infusing your beadwork with love through each stitch, creating meaningful one-of-a-kind pieces your dog feels honored to sport.
Key Takeaways
Beading is an outlet for both creativity and strengthening the human-animal bond. Whether using traditional patterns or exploring freeform designs, losing yourself in beading meditation is rewarding. Personalizing collars with your pup’s flair ensures they feel proud of themselves. A DIY approach moreover saves you money over pre-made while allowing endless expression. I hope this tutorial inspires you to pick up those beads and craft something beautiful for your furry best friend!
FAQ
How long does it take to make a beaded dog collar?
Simple linear patterns can be completed in an afternoon but more intricate peyote stitch collars may take a week of nights. Factor in your speed and experience level.
What type of beads are best for small dogs?
Delicate seed beads under 3mm and pearl beads work nicely. Wooden beads can also complement tiny dogs. For extra strength on toy breeds, use a doubled beading thread.
Is it safe for my dog to wear a beaded collar?
Yes, as long as you bead with break-resistant materials. Avoid thin cords that could snap. Check for loose or worn beads daily. Never leave collars on unattended dogs due to the risk of entanglement or choking if caught on something.
How do I clean a dirty beaded collar?
Hand-wash with mild soap and dry fully before reuse. For minor stains, dip the beads in baking soda paste and scrub gently. Steam cleaning works too to freshen up grimy collars. Avoid machine wash which could damage beads or threading.
What is a good beading thread for dog collars?
Nymo is recommended for its high tensile strength and silkiness. Silamide works too and is colorfast. For large collars or toy breeds needing extra reinforcement, doubling the thread provides security. Replace worn collars immediately for dog safety.
Conclusion About beaded dog collar
Whether you favor classic linear stitching or advanced patterns, beading opens an enriching creative outlet to bond with your furry friend. Through this personalized process, you infuse handcrafted collars with the love your dog feels with each proud strut. I hope this extensive tutorial has inspired and equipped you to pick up those beads! Please share photos of your finished masterpieces – I’d love to see the stunning collars you whip up for your beloved pups. Happy beading!
